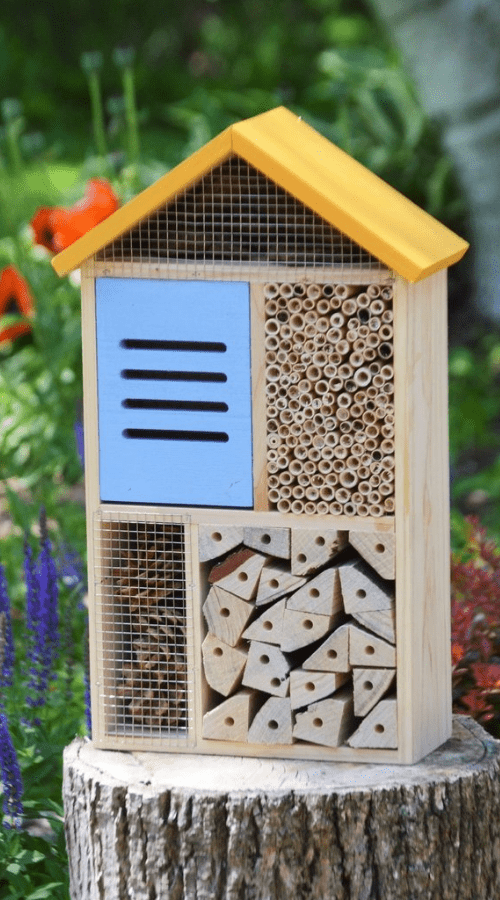
Invite Mason Bees to your Garden
Everyone knows that bees in general are crucial pollinators, but what’s all the buzz about the mason bee specifically? Let’s learn more about these beneficial insects and how we can make sure our gardens are set up to host our busy pollinator pals this spring.
WHAT ARE MASON BEES?
Mason bees are a native species that is quite common in North America. In fact, according to Organic Control, “there are 402 species that live in the United States.” However, unlike the honey or bumble bee, which are famous for their yellow and black markings, the mason bee is actually metalic blue or blue-black in color. In fact, it’s not uncommon that they are mistaken for large flies and are treated as such. So, watch out for fly swatters, Mr. Mason Bee!
They also differ from honey bees in that that do not have a queen, live in a hive, or make honey at all. And so, since they are off the hook when it comes to “hive duties,” mason bees are typically a lot less aggressive without a queen to protect and rarely sting.


HOW ARE THESE INSECTS BENEFICIAL?
You guessed it – mason bees, like their counterparts, are excellent pollinators! But, you likely didn’t know that they are actually 120 times more effective at pollinating than honey or bumble bees according to Organic Control, Inc. Crazy right? They are also some of the earliest risers in spring emerging while temperatures are still cold and other bees are awaiting warmer days to become active. This is typically when fruit trees begin to bloom. All this increased pollination will improve the yield on fruit trees and increase the quantity and quality of blooms on flowering plants and herbs. By mid-March in Oklahoma, you can expect mason bees to be out and about putting their pollination skills to work!
HOW TO ATTRACT MASON BEES TO YOUR GARDEN
Setting your outdoor space up for mason bees is easy! Start by planting some native flowers or flowers with single rows of petals. And always provide an open patch of mud that the bees can use to construct their home.
WANT A PLAN BEE?
Purchase a Mason Bee Starter Kit for all the essentials to create the perfect environment for your new pollinator pals. These kits are currently available at Marcum’s Nursery Goldsby location only.

SOURCES
Organic Control, Inc. | https://organiccontrol.com/mason-bees/
Friends of the Earth | https://foe.org/blog/why-are-bees-important/
Living Christmas Trees
WHAT IS A LIVE CHRISTMAS TREE?
PROS AND CONS OF LIVE CHRISTMAS TREES
1. ECO-FRIENDLY
The main advantage of a living Christmas tree over other options is sustainability. It goes without saying, but we’ll say it anyway – it’s good for the environment to plant trees. And, while we do love the idea of visiting a Christmas tree farm and cutting down the perfect tree with your family, there is a small bit of sadness attached to cutting down a beautiful, healthy tree.
2. BETTER QUALITY
A living Christmas tree is usually more fragrant than a cut tree. It also stands firmly in the container, so it isn’t as likely to be wobbly or tip over as a cut Christmas tree in a stand. Since a living Christmas tree still has its roots intact, it should last much longer indoors than a cut tree if it is well-watered – cut trees can dry out quickly, but a living tree with a root system is much better equipped to take up water and stay hydrated.
3. SIZE & WEIGHT
Living Christmas trees are typically much heavier than cut Christmas trees due to the weight of the root ball. The added weight of the root ball might force you into a smaller tree than if you were buying a cut tree that won’t have a root system intact.
4. PRICE
On the downside, living Christmas trees generally cost more than cut trees. However, your investment doesn’t get thrown out with the wrapping paper and empty gift boxes after Christmas. Over the years, your family can build a living collection of holiday memories that you get to watch grow.
LIVE CHRISTMAS TREES OPTIONS
If you’re ready to start your family’s living Christmas collection, it’s time to choose the best Christmas tree for your home and landscape. The right variety will depend on the size of your home and room in which you plan to put the tree, where you plan to plant it after Christmas, and the amount of sunlight it will receive. Some varieties will need afternoon shade while others thrive in our hot summer conditions, some varieties get rather large at maturity while others stay smaller and narrower when fully grown.
Below are some of the most popular live Christmas trees and some that deserve extra consideration given their suitability for thriving in Oklahoma landscapes once their holiday stay inside your home is finished.
1. COLORADO SPRUCE
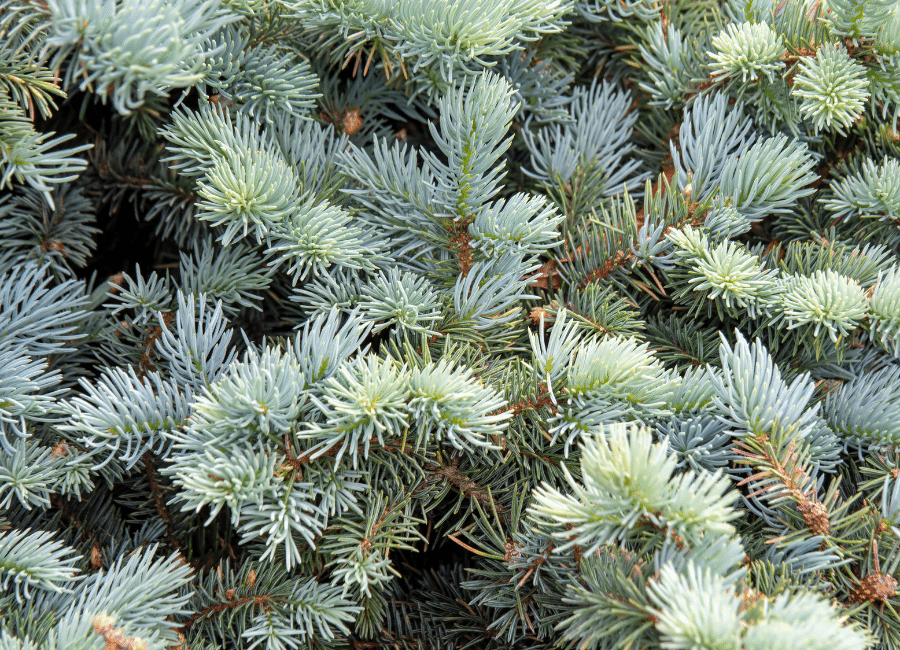
The Colorado Spruce is famous for its silvery blue-green needles and incredible symmetry. It also carries a good number of heavy ornaments on its needles. The Colorado Blue Spruce can tolerate a good amount of sunlight but, in our part of the country, aim to plant in a spot where it has some blockage from the sun’s hottest afternoon rays.
2. DWARF ALBERTA SPRUCE
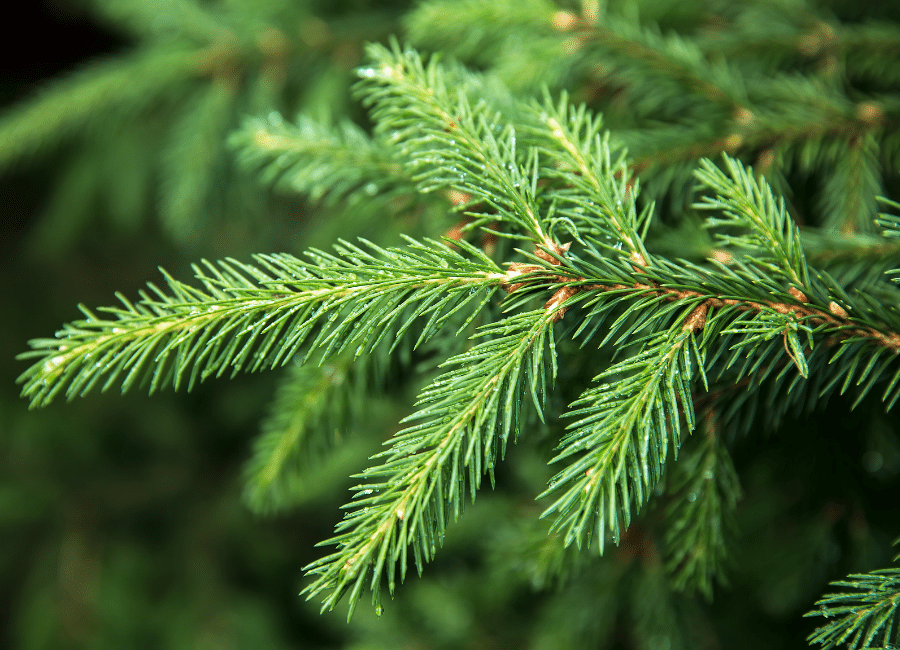
The Dwarf Alberta Spruce exhibits soft, dense green needles. It makes an excellent miniature Christmas tree indoors or strung with lights in containers on the porch. It requires afternoon shade once planted outdoors in central Oklahoma.
3. NORWAY SPRUCE CHRISTMAS TREES
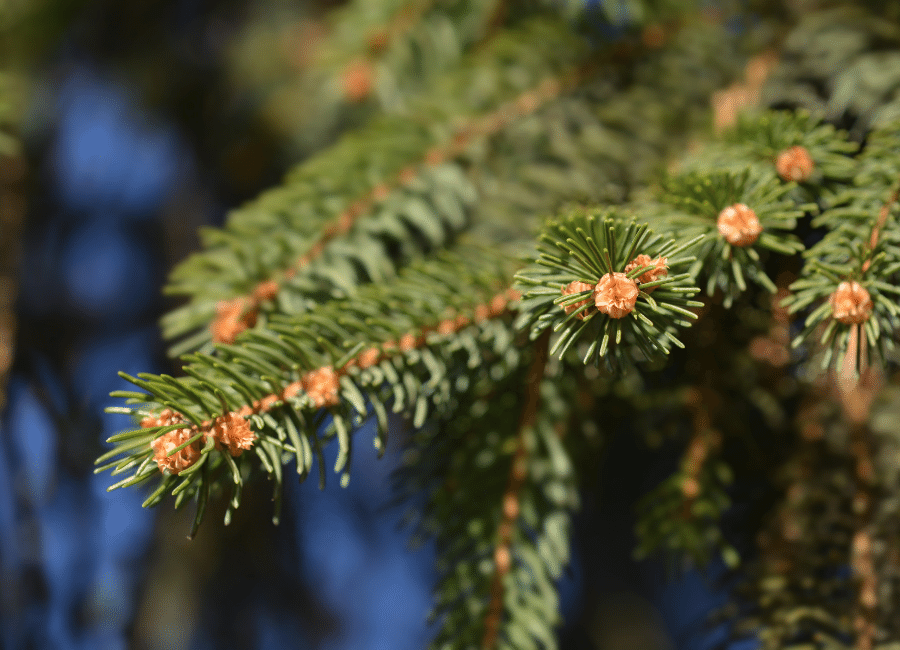
If you’re looking for a live Christmas tree with a lovely mild scent, the Norway Spruce is a great choice. Its luscious forest-green limbs form that classic cone shape we love about Christmas trees.
4. DEODAR CEDAR
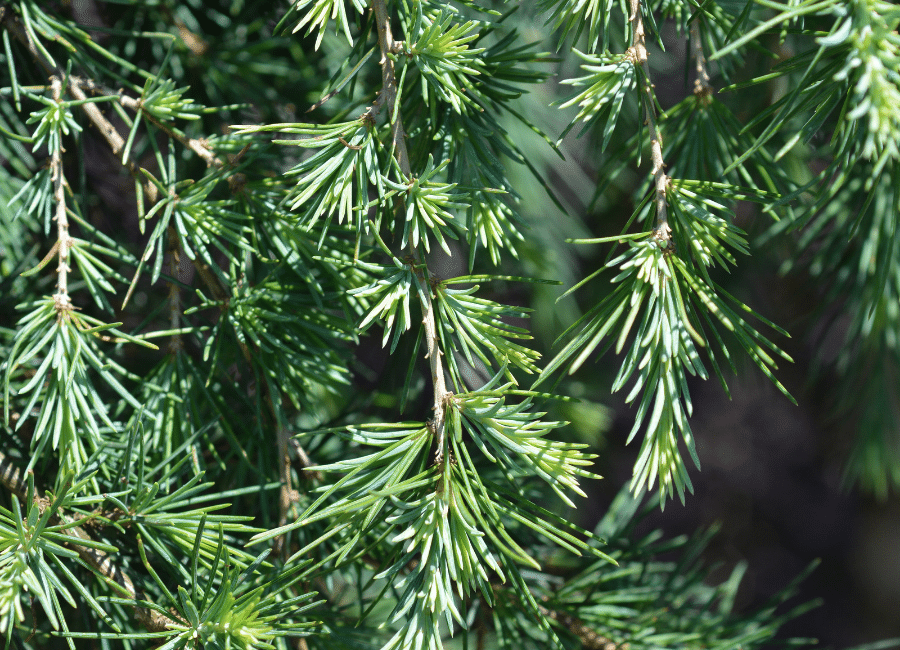
The Deodar Cedar makes a beautiful living Christmas tree with its gray-green foliage and graceful branches. Make sure you have plenty of room for it once you get it outdoors, however, as the deodar can grow over 40’ tall and 25-30’ wide. Once established, the Deodar is also very heat and drought-tolerant.
5. HOLLIES
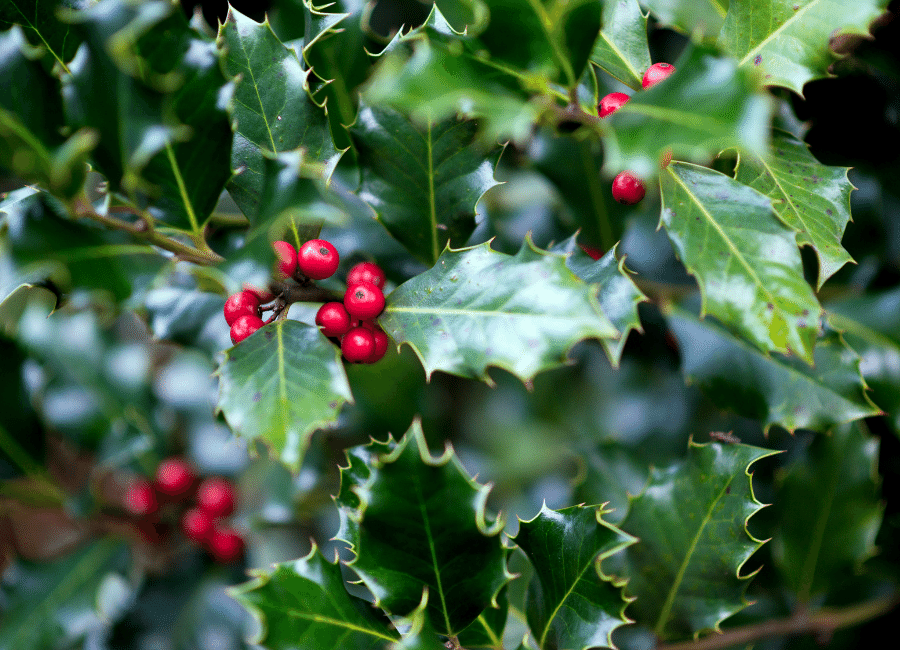
Maybe you have never thought to choose a holly as your family’s living Christmas tree, but it could be the tree that keeps on giving for Christmases to come! Several holly varieties produce beautiful berries in fall and winter that could be clipped yearly and used as beautiful additions to garlands and wreaths for your home throughout the holiday season.
6. JUNIPER
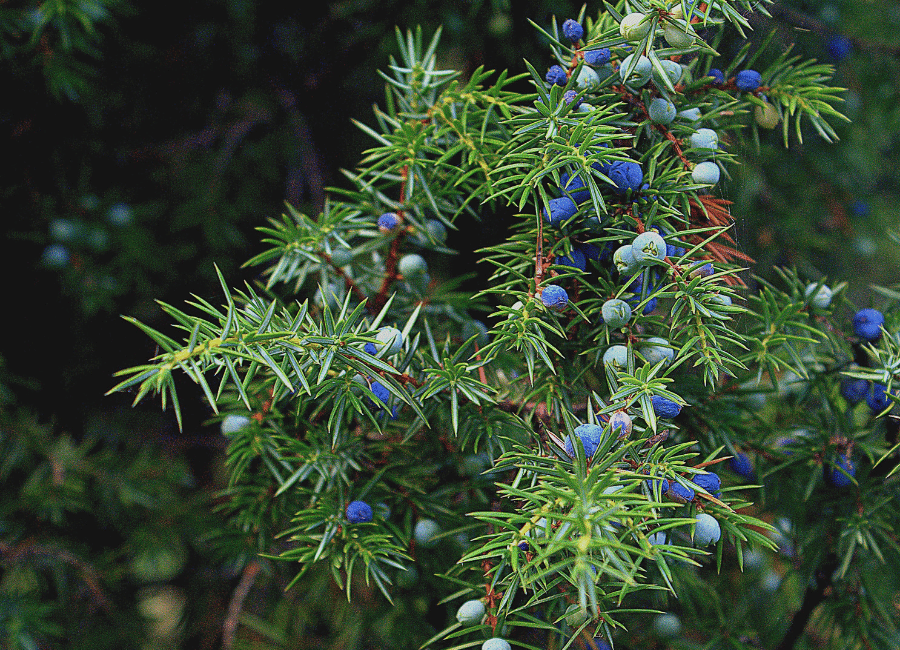
Several upright juniper varieties make lovely Christmas trees, and, like the holly, juniper clippings make for nice additions to garlands, wreaths, and Christmas boughs as well. Plus, you’re sure to find a juniper to meet your landscape needs as well; some varieties stay narrow while others get quite wide, and there is a good range of foliage colors available with junipers as well.
7. LEMON CYPRESS
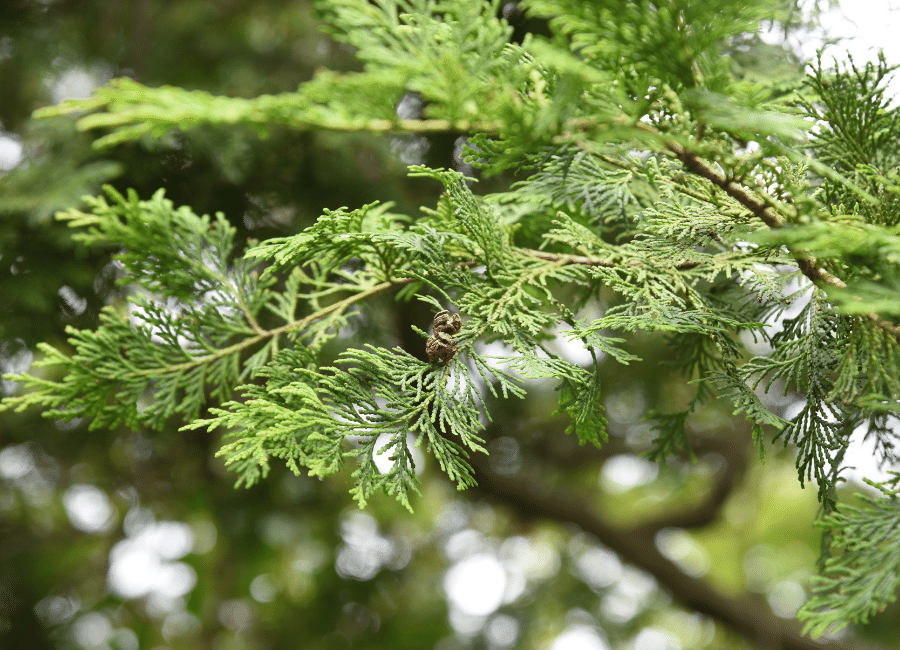
This bright beauty makes the cutest potted evergreen for tabletops and porches during the holiday season. However, it is useful in the landscape long after Christmas. It has a very narrow habit only reaching about 3 feet in width and only about 10 feet in height making it a great choice to flank windows or create a hedge in a tight space. It can even be kept in containers or used for bonsai.
8. ARIZONA CYPRESS
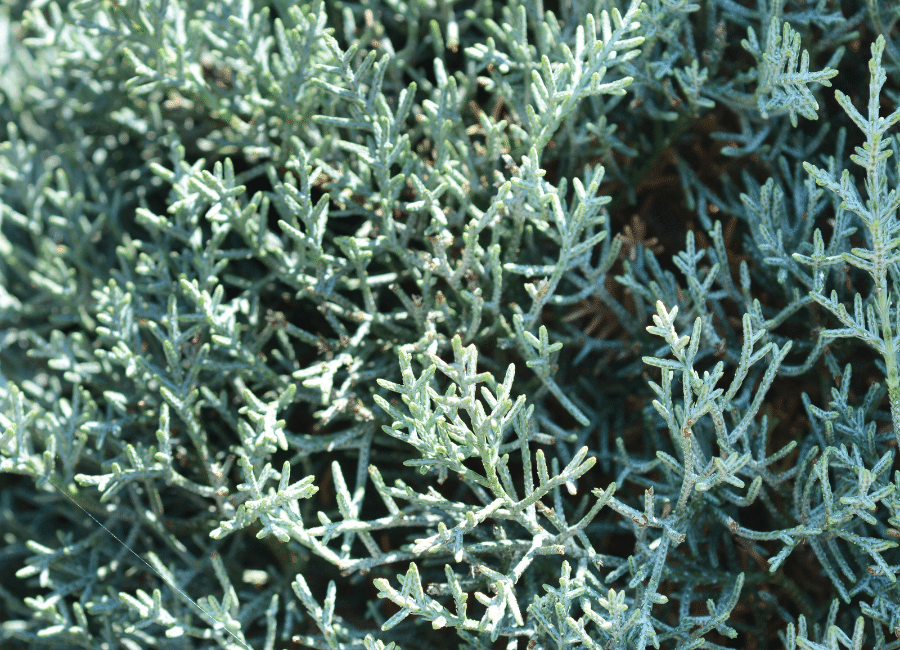
Arizona Cypress is very tolerant of the hot, dry conditions we experience during Oklahoma summers, and it is often used in green belts and privacy screens. The soil where they grow natively is much rockier and better draining than Oklahoma soil, however, so amend tight, clay-like soils to give them ideal conditions.
9. ROSEMARY
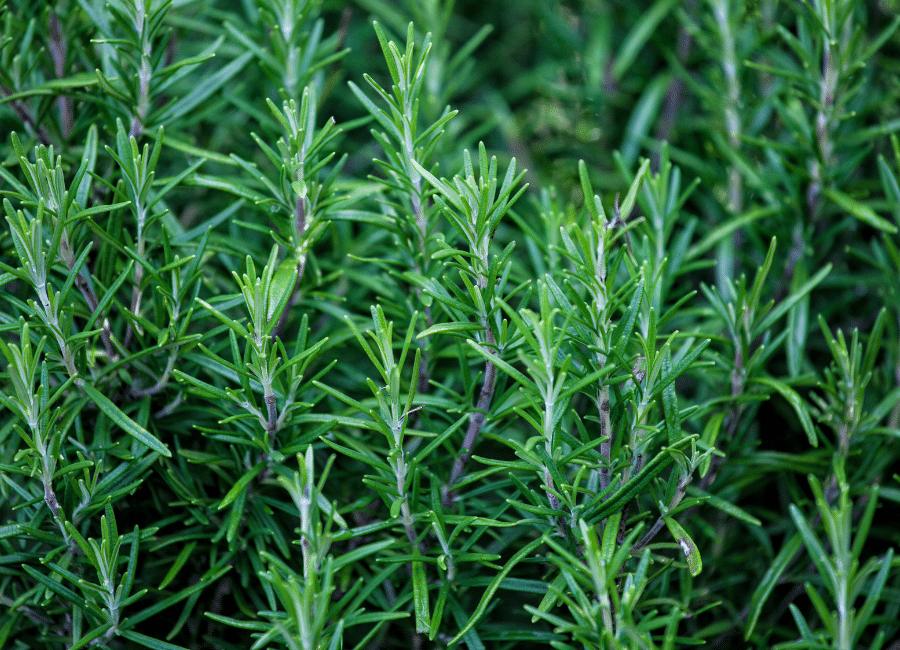
Have yourself a rosemary little Christmas! Rosemary makes the most beautiful little Christmas tree for a kitchen countertop where it can be used to season your holiday dishes and brushed occasionally to release its lovely scent throughout the home.
10. NORFOLK PINE
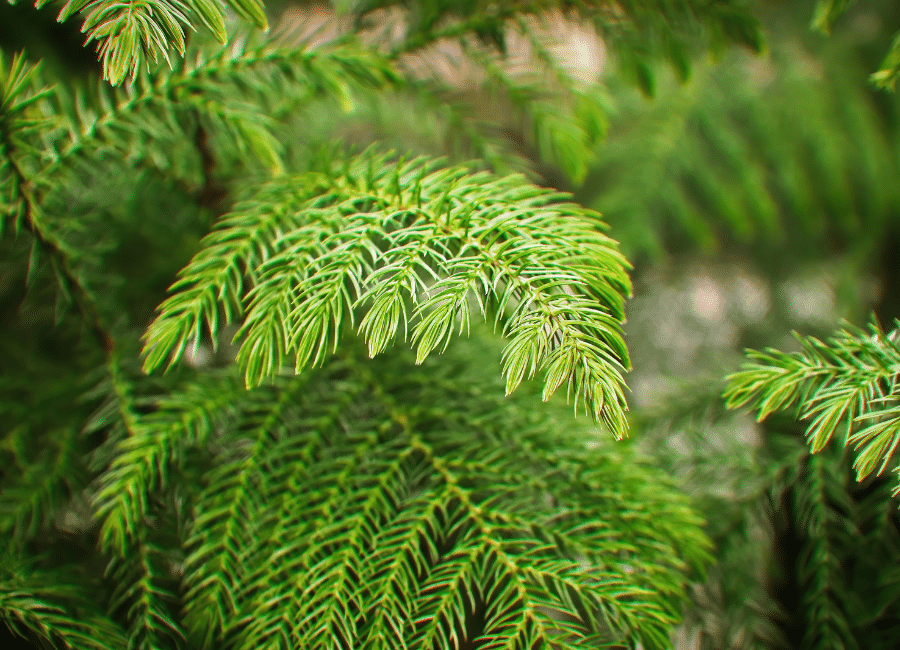
Norfolk Pine is a houseplant in our climate, so you definitely don’t plant this one outside after the holiday. You can, however, move it to a covered porch for a few months when temperatures warm up in the spring and summer. Grown indoors it can get up to 8 feet tall.
LIVING CHRISTMAS TREE CARE INSTRUCTIONS
- Transition your tree: When possible, transition your tree from the outdoors to a garage for a day or two before bringing it indoors. Do the same when moving the tree from your home to the outdoors. This will help the tree to better acclimate to the change in temperatures.
- Timing is everything: Your live Christmas tree should stay indoors for no more than 10 days. The warmth in your home may harm the tree or trigger a springtime growth, stunting its growth when you plant it outdoors.
- Choose the right spot: Live Christmas trees like cool spaces such as your porch, entryway, and near windows. Avoid heaters and fireplaces since the warmth makes the needles drop.
- Maintain the live tree indoors: For your live Christmas tree to thrive, water it daily, and keep the root ball covered with a plastic bag. Maintain your indoor temperature at 68° F or less to keep the live Christmas tree from wilting.
- Plant and mulch: When it’s time to plant, position the root ball in the prepared hole, mix the existing soil with Redbud Compost, cover the root ball with the soil and compost mixture, and gently tamp it down to remove air spaces. A layer of insulating mulch helps to prevent freezing, keeps moisture near the root ball, and can even keep weeds at bay.
- Irrigate regularly: Water your live Christmas tree at the time of planting to help it adjust to and thrive in its new location. When temperatures are above freezing, which can be significant portions of Oklahoma winters, your tree will benefit from occasional, deep watering.
CONCLUSION
Live Christmas trees are an investment in your landscape and create a cool family tradition. Who wouldn’t want Christmas reminders sprinkled throughout the landscape to add extra jolliness throughout the year?!
Mother’s Day Gift Guide
FOR THE DIY MOM
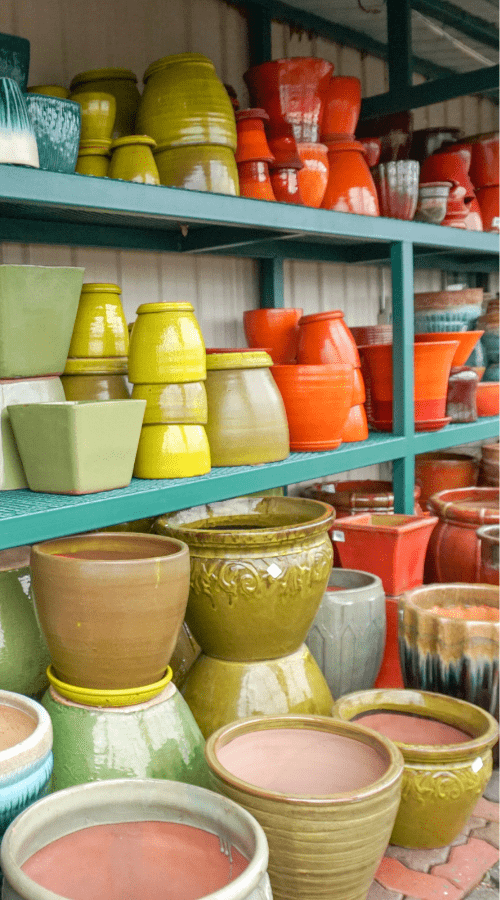
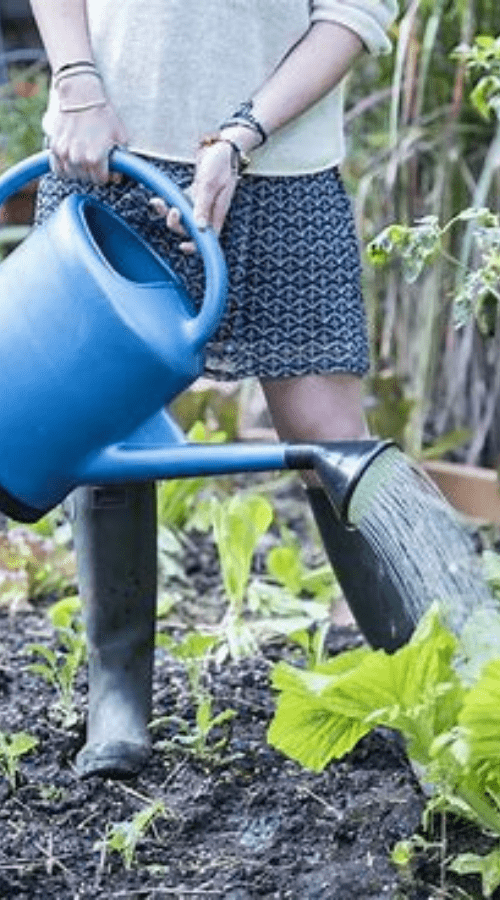
“Do It Yourself” moms aren’t messin’ around when it comes to thier love of working in the garden. She loves to get her hands dirty and she’s always encouraging you to “rub some dirt in it”. She’s bound to love a new garden project… Help her get started with new pottery, tools, or aqua pots.
POTTERY
GARDEN HOSE

WATERING CANS
FOR THE SHADY LADY
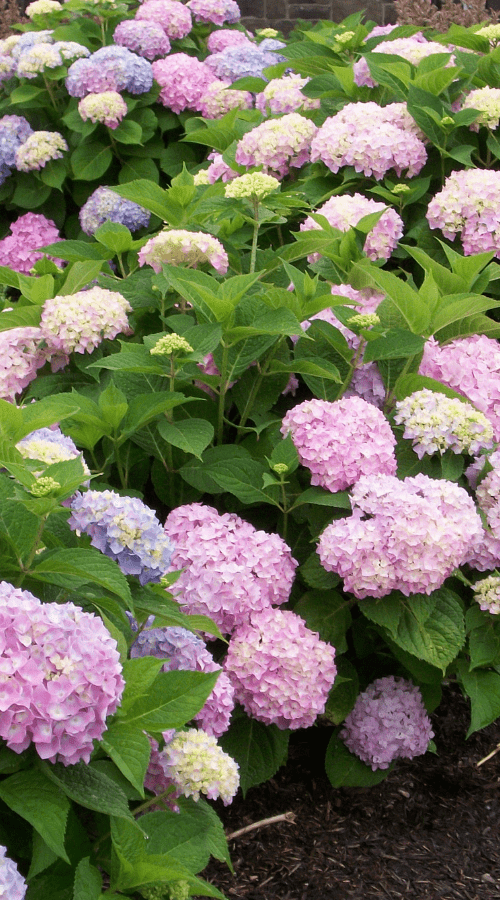
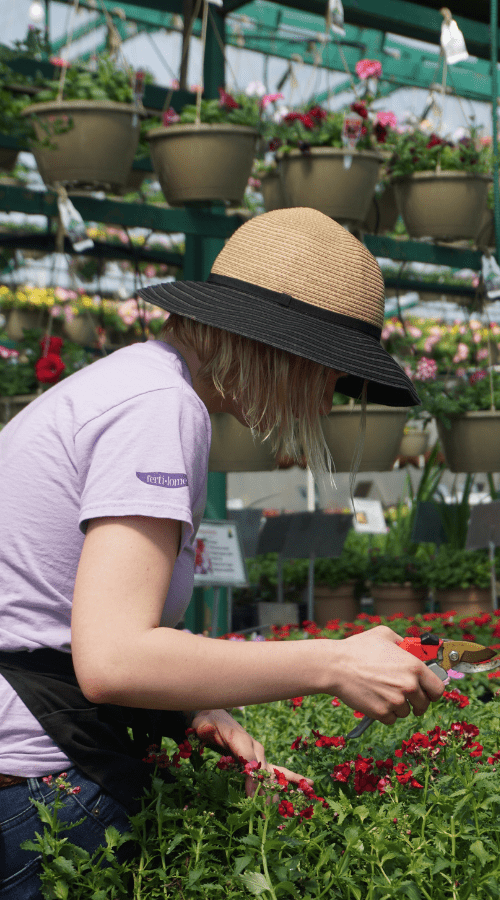
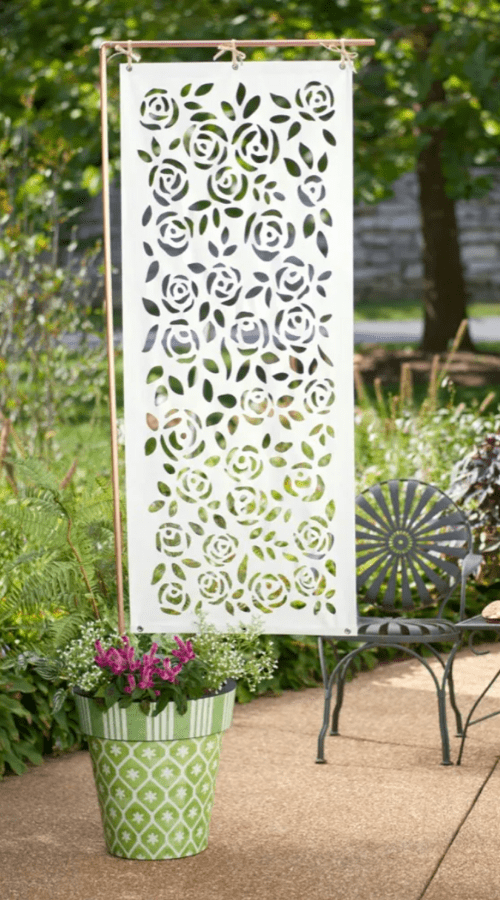
She’s not a regular mom. She’s a cool mom. How does she keep it so cool? She’s all about her shade. From her love of shade plants to her advocacy for sun protection – she’s one shady lady!
HYDRANGEAS
HATS & VISORS
SHADE SCREENS
FOR THE ARTSY MOM
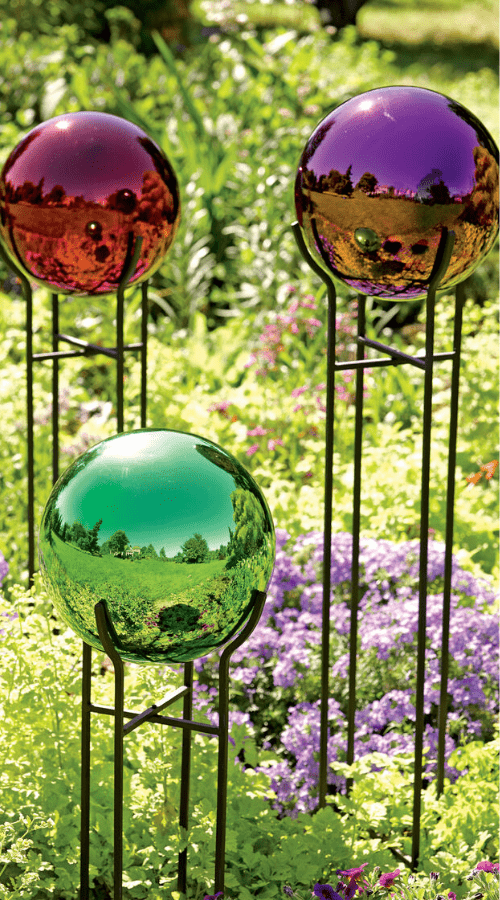
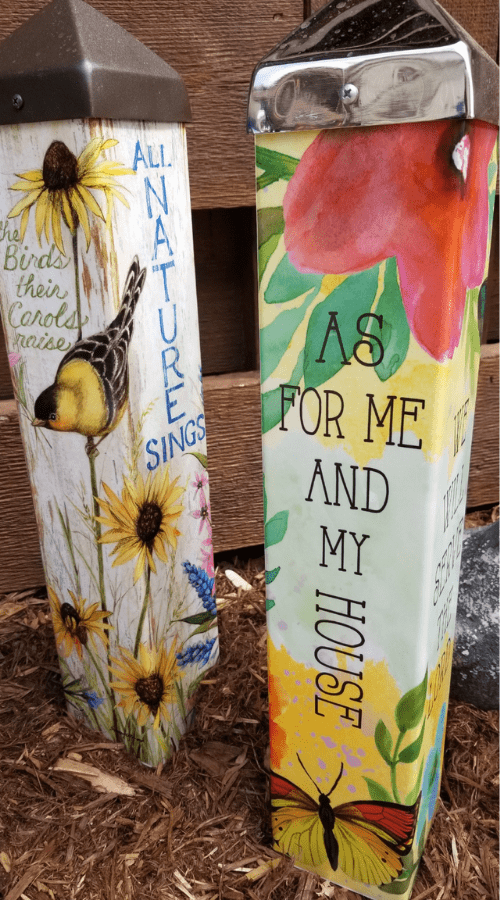
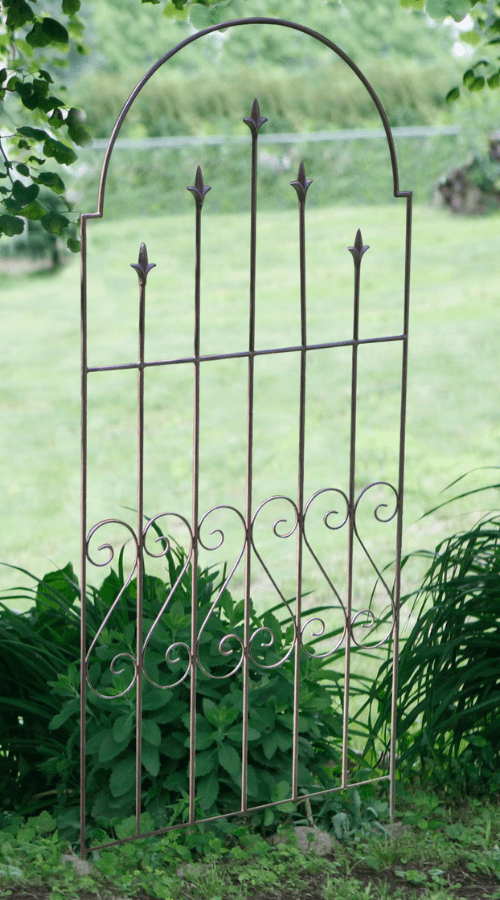
She’s always looking for new and creative ways to enhance and add a personal touch to her outdoor space.
YARD ART
ART POLES
TRELLISES
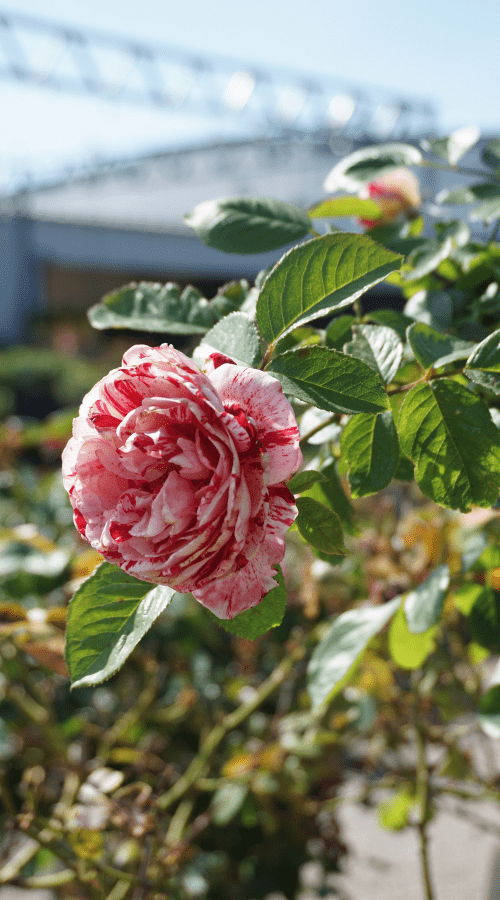
FOR ROSE LOVIN’ MAMAS
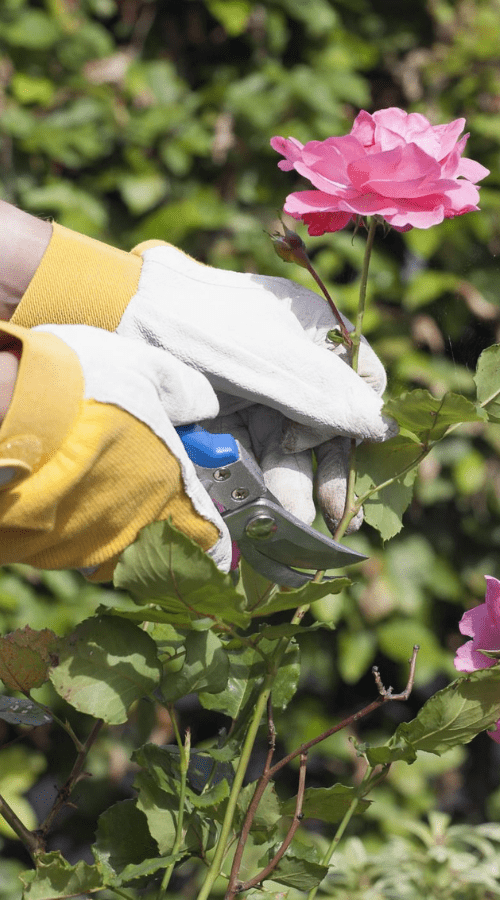
Calling all Rosie the Riveters! This iconic mama works hard to keep her roses in tip top shape. Make sure she has all the tools (and roses) she needs to keep up the good work!
ROSES
ROSE GLOVES
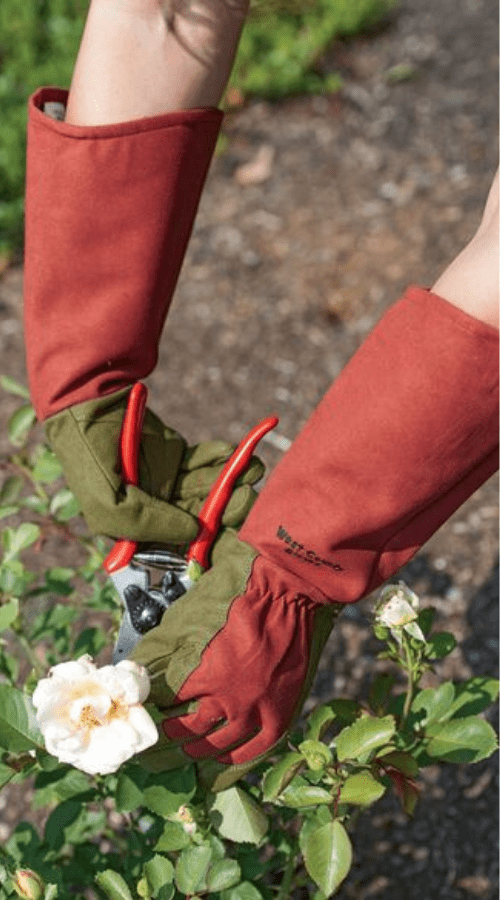
PRUNING SHEARS
FOR MOTHER NATURE
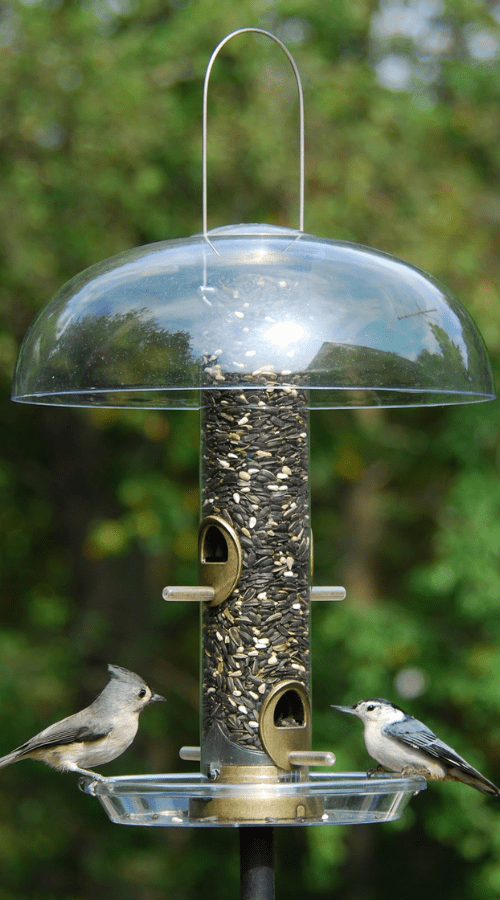
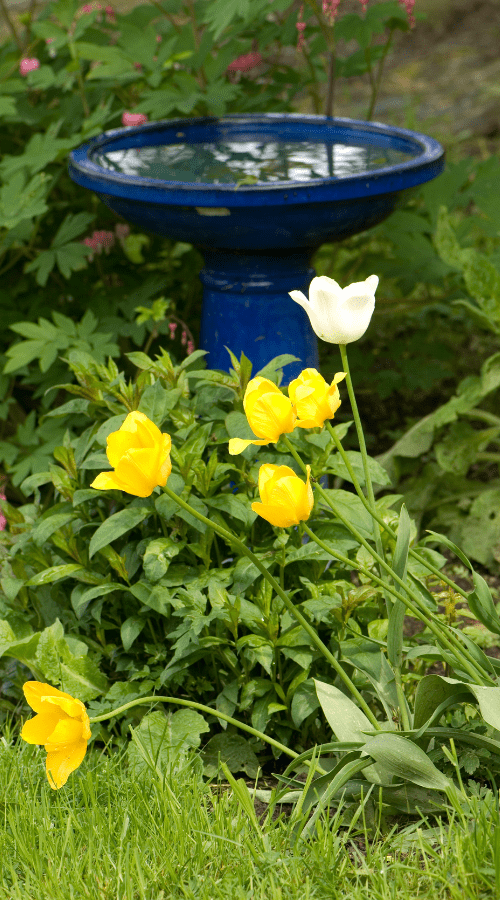
Her gentle spirit and love of life makes this mama an outdoor pet aficionado. Help your mama make her outdoor space even more inviting to benefitical insects and birdlife.
BIRD FEEDERS
BIRD BATHS
BENEFICIAL INSECT HOUSING
